
How to Attach The New Bench Cover
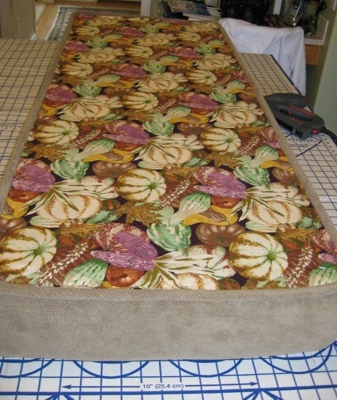
The sides are sewn to the top panel, and then the cover is slipped over the cushion and stapled to the underside of the bench top.
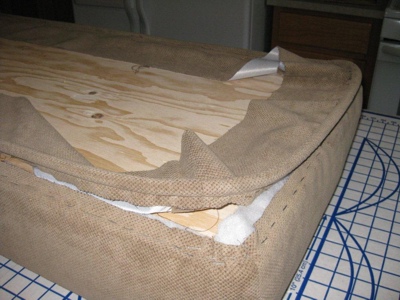
When you staple the cover on, make sure you use plenty of staples and keep it tight. One thing my mother always said about upholstering anything: Gotta keep it tight!
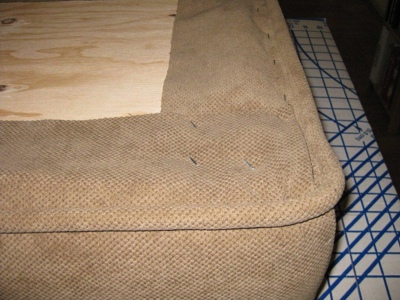
Flip the bench top over and check out your work. Once the top is attached and you’re happy with it, then add the piping.

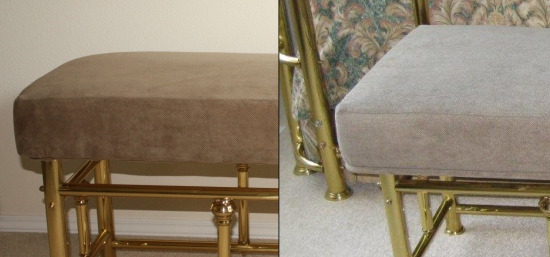
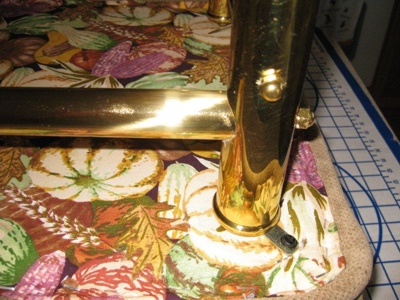
 Do not pull too hard when you staple the corners. We actually had to redo this part, as we pulled the corners a bit too tight. Here’s a before-and-after photo of the corners. You can tell where it’s pulled too tight on the left image, because the corner looks like it’s sloping down and the edges don’t look straight and crisp like they do in the picture on the right:
Cover the Bottom
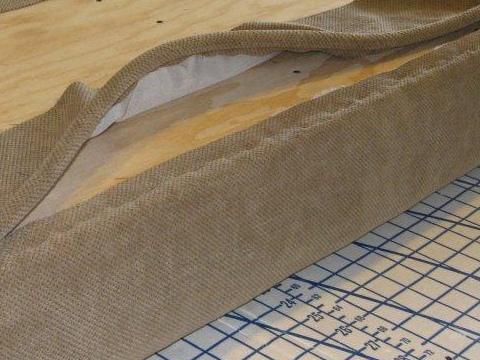
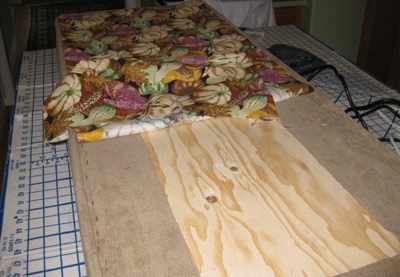
To add a finishing touch and protect your work, add a bottom panel to hide your edges. If you’re using a regular, woven fabric (as pictured here), measure the area you want to cover and then add an inch to turn under, so you can hide the raw edges. Turn the edges under and iron flat. If you’re using a non-woven nylon Cambric cloth used often on upholstered items, you can cut it to the exact size of the underside of the bench and skip folding the edges.
Now lay the fabric over the bottom and staple closely to the edge.
Now attach the bench to the base, and you’re done!
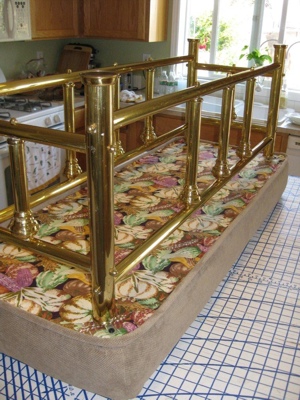
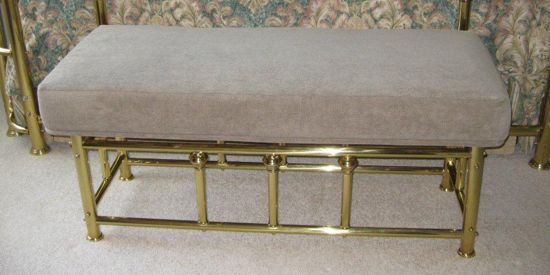
Here’s a photo of the final product. She’s done a great job!
In case you skipped Part 1, here is the video showing how this bench came together:
