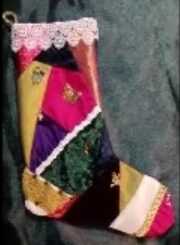
 Here are the instructions for making the Star Trek inspired Christmas stockings! You can also use this pattern for non-Trek stockings by changing the cuff style. There are a couple to choose from that are included in the pattern.
To make these, you will need:
- Stocking pattern – You can download a free Christmas stocking pattern here
- Main Fabric – minimum 1/2 yd, but see note below – I used crushed panne velour
- Lining Fabric – same amount as main fabric – I used black satin
- Interfacing – same amount as main fabric. Use sew-in interfacing for fabric that can’t be ironed. You can choose iron-on if your fabric can handle it or sew-in.
- 1/4 yd faux fur (or preferred cuff material)
- 1/4 yd cuff lining (ignore if you use the same lining fabric for the cuff as you are using for the stocking – there should be enough left over
- Optional for the loop if you don’t want to make your own: piece of cord or thick ribbon – make sure it’s strong enough to hold the stocking’s weight when full
- Sewing basics: Thread, scissors, cutting table, pins, safety pin.
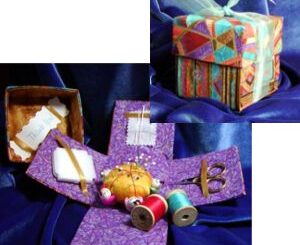
- Optional: insignia pins – I found the ones pictured here on Amazon.
You can scroll to the bottom of this page to see how I assembled this pattern.
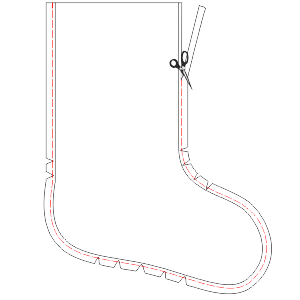
 To gauge how much fabric you’ll need: Once you have the pattern paper cut out, measure the length of your stocking piece. Because the length is adjustable, I cannot give the exact measurement. I made mine 3″ longer so I needed about 21″ – I had 5/8 yd cut for my fabric so that I’d have a couple extra inches, just in case.
If you choose a fabric such as velvet or fur as a fabric, remember that material is directional. There is usually an “up” and a “down” to it (this is called the fabric pile), and you will need to arrange your pattern pieces so that the pile lays in the same direction for all the pieces. Unless, of course, you want it to do something different. Also, if you cut your pieces out one at a time due to thick fabric, remember to flip the pattern piece over when you cut the second one out so that you don’t have two “fronts”, for example. This is experience talking! I can’t tell you how many times I cut out a piece in the wrong direction before I got it through my thick skull because I was tired or not paying attention.
Directions:
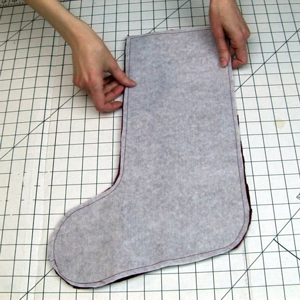
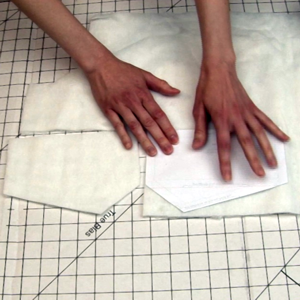
Cut out all pieces*
You’ll need:
- Cut 2 stockings out of main fabric
- Cut 2 stockings out of lining
- Cut 2 stockings out of interfacing
- Cut 2 cuffs
- Cut 2 cuff linings
Assemble the Stocking
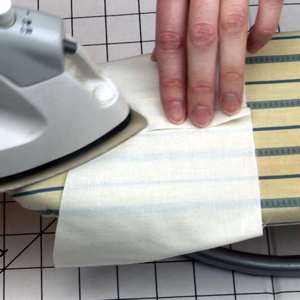
Sew or fuse interfacing to stocking fabric’s wrong side. If you sew it to your fabric, make sure you do not exceed the 1/2″ seam allowance. I stitched mine at 1/4″.
Sew both sides of the stocking together, keeping right sides together.
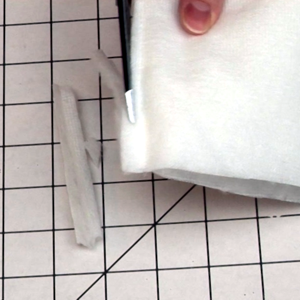
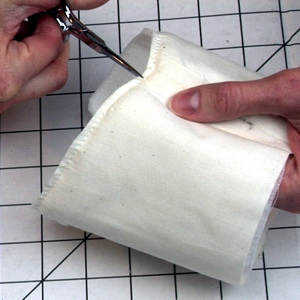
Trim the seam allowance down to about 1/4″. Clip curves.
Flip stocking, right side out.
Sew lining together, right sides together – but do not flip it out.
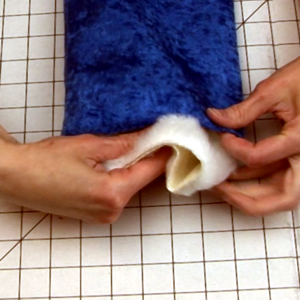
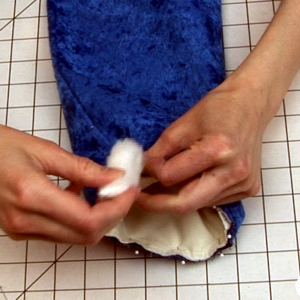
Put the lining inside the stocking, wrong sides together.
Stay stitch the lining to the stocking around the top edge.
Zigzag across the top edge to prevent fraying.
Assemble the Cuff
Cut out 2 pieces of the cuff in the cuff fabric and two pieces in lining. Remember, if your cuff fabric is directional, make sure it is pointing in the right direction when you lay your pattern piece down to cut it out!
Sew cuff fabric at side seams, right sides together.
Trim the cuff seam allowance.
Sew cuff lining at side seams, right sides together.
Press open the cuff lining seam allowance. If, for some reason, you cannot iron your lining material, then try to trim the corners to reduce bulk.
Sew cuff lining to cuff along the bottom edge, right sides together.

Clip the curves along the sewn edge before you flip the cuff right side out.
Flip sewn and lined cuff right sides out. Now you should only have a raw edge at the top.
Stay stitch the top edge. If you fabric frays a lot, zigzag or serge the top edge to prevent fraying (this will be trimmed off later.)
Sew The Loop
Cut the loop out of fabric or cut a length of ribbon or cord to the same length as the pattern.
If you’re sewing your loop from the pattern provided, and if it’s fur material, trim the excess fur out of the seam allowance area to prevent bulk.
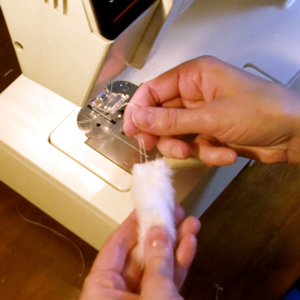
Sew 1/4″ along the long edge. Flip right sides out.
If you plan to put heavier items in the stocking, you can reinforce the loop by threading a piece or cord or nylon strap through the center.
Whether you use the loop pattern or a cord or ribbon, stay stitch both ends together.
Attaching The Cuff and Loop
With right sides out, put cuff inside the stocking/lining and pin.
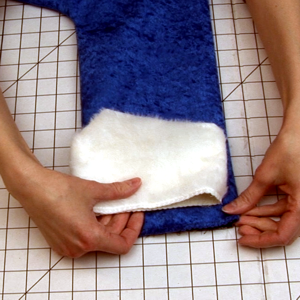
Pin the cuff to the top of the stocking.
Add the loop to the top corner of the stocking between the cuff and stocking. Make sure the loop is pointed down into seam, with the raw edge even with the rest of the fabric.
Sew with 1/2″ seam allowance around the top edge.
Grade the edge by trimming the cuff down to 1/4″. Zigzag the layers together to prevent fraying.

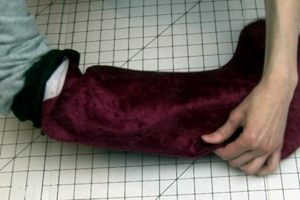
Flip the cuff out.
All finished!
In any event, happy sewing, and to help you along, here’s the video demonstrating the process, with detailed directions below it: