Lengthening patterns is easy to do when you have purchased a pattern from one of the more popular pattern companies (such as Mccalls, Butterick, Vogue, Simplicity, etc.) but you can use this knowledge to alter ANY pattern.
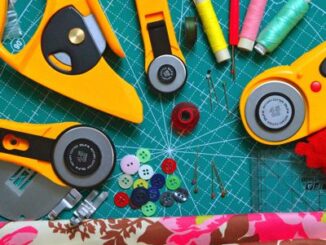
Before you get started, I recommend having the following items handy:
- Cutting Board with Grid
- Scissors
- Pins
- Scotch (or clear) Tape
- Measuring Tape
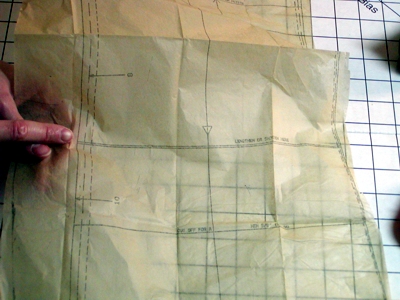
In this case, I am lengthening the pattern pieces for a pair of pants by one inch. You will need to determine how much longer or shorter you need your pattern piece to be and go with that measurement. I separated out all the pieces that needed to be lengthened. Make sure you adjust ALL the necessary pieces! I have made the mistake of lengthening one side but forgetting the other – it can be frustrating, time consuming, and sometimes an expensive mistake! So just be sure you adjust them all the first time. In the example images below, I demonstrate how to lengthen a pattern, but you would use the same principles to shorten one as well.
I cut along the "Lengthen or Shorten Here" line
 If your pattern does not have a “Lengthen or shorten here” line on it, you can use the grid on your cutting board as a guide to create one.
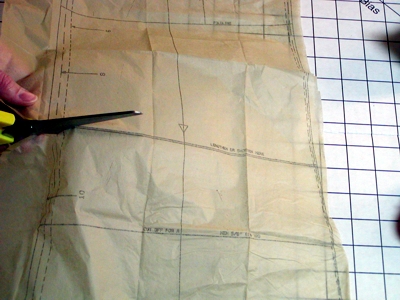
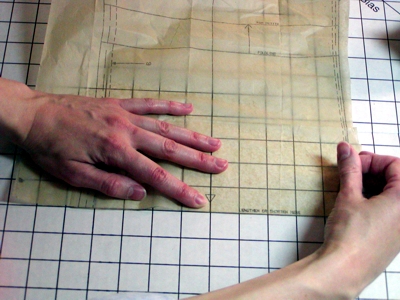
Then I pin one piece down to the cutting board. I line up the edge to one of the lines.
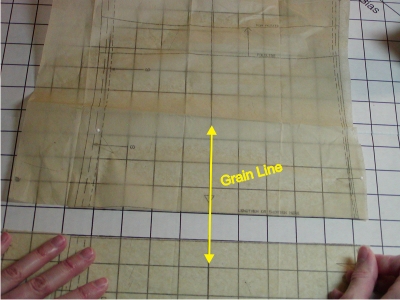
Next I pin the second piece an inch away from the first, making sure the grain line is still lined up.
Finally, using some scrap tissue from the pattern, I tape an extension piece between the two pattern pieces.
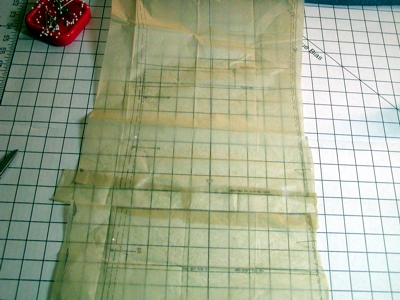
Now that the pieces are taped together, I can remove the pins and work on the next pattern piece. Make sure you adjust all corresponding pattern pieces so that they are all matching lengths.