 Note: If you are a right handed knitter, please check out the right handed tutorials here.
This tutorial will show you another stitch commonly used in knitting called the purl stitch. It’s assuming that you already know the basics of knitting. If you aren’t familiar with how to knit, please check out our knitting basics tutorial titled How to Knit Left Handed – The Basics.
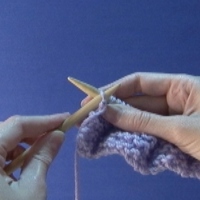
Make sure your loose yarn is in the front of the needles, as opposed to behind them when you do the knit stitch. To begin your first row, slip the empty needle through the top loop on the other needle, going from the top towards the bottom. So, your needle points will be somewhat facing each other.
You’ll keep the right needle behind the left once they’re in the loop together. Wrap the loose yarn (that leads to the yarn ball) from front to back between the needles. Now push the right needle down between the loose yarn and the left needle and pull the loop off the left needle completely. This should form a whole new loop from the loose yarn. You’ll repeat this all the way down the row. When you get to the end of the row, switch the now full needle (the right hand needle) to your left, and put the empty (left hand needle) in your right hand, and repeat the whole process. You’re knitting!
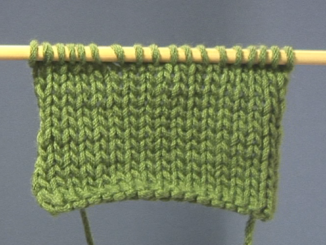
Follow along and see how easy it is to actually do! Anyone can learn to knit and it’s a great craft to know if you want to give handmade gifts! A simple large knitted rectangle is essentially an afghan. By combining the Knit and Purl stitches, you can create a wide variety of stitch patterns.
The first video below shows the Purl Stitch in the English or “throw” method, and the second is the continental method. They both produce the same stitch, but you can choose which is more comfortable for you to do.


