 What is a seam allowance? Why is it important? Seam allowances provide a couple of important functions. The main reason is, without seam allowances, our seams simply could not exist! The seam allowance is the extra space between the stitched seam and the raw edge of the fabric. Many commercial pattern companies have agreed upon a standard 5/8″ seam allowance, however it does vary with printed patterns – make sure you check first before beginning a project! If you create your own patterns, you might choose to use 1/2″ or 3/8″ – whatever it is, just make sure you know what it is or your pattern may not turn out quite the way you intended.
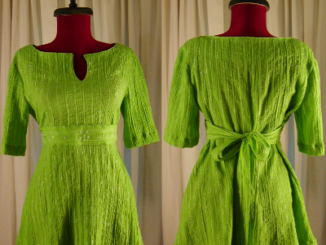
Another purpose for the seam allowance (particularly larger ones) is for custom fitting an item. Whether it’s upholstery or a wedding dress – having that extra seam allowance will allow you to “let out” the seam a little bit if the article is too tight. You can always cut away extra later, but you can never add to if something is too tight.
There are different ways to finish off a seam allowance. Serge the edges, use a zig-zag stitch, French seam, press them open and top stitch. Let’s go over some of these stitches so you can familiarize yourself with them:
Serging
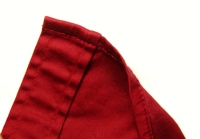
Serged edges are commonly found on store bought clothing. Grab any t-shirt or jeans and flip them inside out – you’re most likely going to find a serged edge. To create a serged edge usually requires a serger. A serger is a standalone sewing machine that pretty much does nothing but serge edges. Some come with knife cutters that chop with a scissor action along your seam allowance to create a neat edge and then stitch the cut area to finish it off. Some sewing machines also come with a serge-like stitch on them, so you can still stitch your seam allowances and give them that finished look without needing a separate serger. Many people start off with just a sewing machine, and then if they find that they’re sewing enough, decide later to purchase a serger.
The Zig-Zag Stitch
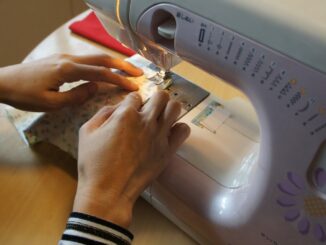
The zig-zag stitch is a great alternative to a serge stitch. It’s fairly quick and easy to use and comes as an option on most (if not all) sewing machines. If you want to finish your edges with a zig-zag stitch, I’d recommend carefully trimming your edges down to 3/8″, and then zig-zag the edge. You can adjust the stitch length to make it a wide zig-zag for fabrics that are not likely to fray or more close together for fabrics that might fray easier.
French Seams
French seams are an excellent way to finish off silky and semi-transparent fabrics. This is best used on fabrics that are likely to fray pretty badly and/or fabrics where the seam allowance might be visible during normal wear. A French seam is sewn in while the garment is being assembled. The following example takes a 5/8″ seam allowance into consideration. If you use a different seam allowance, you’ll need to make some adjustments: Rather than sewing the right sides together and then finishing off the raw edge, the wrong sides are sewn together using a 1/4″ seam allowance. Flip the fabric right sides together and pin along the seam allowance again. Now you’ll sew a 3/8″ seam. This encloses the raw edge within the fabric itself, preventing it from fraying and keeping a smooth finished edge on the underside of the garment. This edge can also be stitched flat if desired.
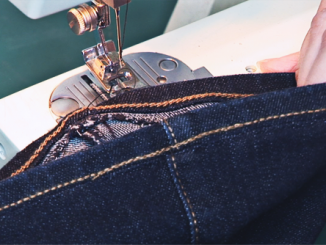
Topstitching
Top stitching is also a popular finish. I like to use a zig-zag or serge stitch along the edges as well before top stitching it down, but it’s up to you on whether you want to take that step. Top stitching simply requires that you pin the seam flat and then stitch from the outside along the seam line; for example, 1/8″ from the seam line. You can see an example of this by looking at the seams on a pair of jeans. The pockets and legs are top stitched. It gives a decorative look and also stabilizes the fabric.