I’ve got a problem that I think many people can relate to. When I buy jeans, they’re often a little too long, and I need to shorten them. If you hem a pair of jeans with a traditional hem, even if you match the original topstitching thread color, it will usually be obvious the jeans were hemmed. There’s a way to keep the original hem, so you can keep the original look of the jeans, but tailor the length to fit you better.
In this tutorial, I’ll show you how I hem mine. I’m happy to report that with this method, and with frequent washings, my jeans have held up very well. I’ll post a photo of the pair I used in this tutorial taken a year after I hemmed them, so you can see how they held up. Also, you can check out the video tutorial below.
Materials you’ll need:
- Sewing machine
- Thread that EXACTLY matches your denim color.
 If you have denim that varies a bit, do your best to match it. If you have several colors and aren’t sure which one to use, lay out a strand of each over the denim. Whichever one “disappears” is the closest match.
- Scissors that can cut through denim (Optional, see below)
- Pins
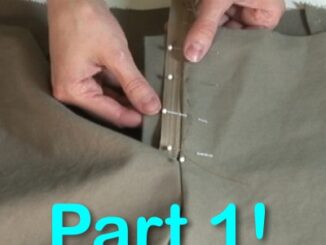
Step 1: Pin the hem up to where you want it to be
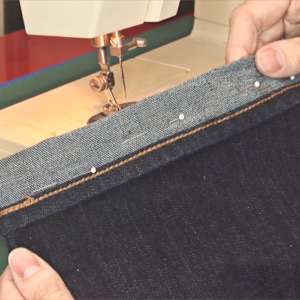 This requires stepping into your pants and making sure that the hem is exactly where you want it to fall. Put shoes on, make sure the length works with however you plan to wear them.
I can’t stress enough how important this step is. Do not try to save time by lining them up with other pants that fit you perfectly and assuming they will be the correct length. (Can you tell this is experience talking? *grin*) You’ve been warned! Take the extra few minutes and test drive the new hem.
Step 2: Stitching the new hem
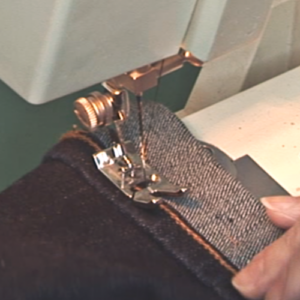 Straight stitch alongside the original hem using a 2.5-3 stitch length. Smaller stitches are better. Do not stitch over the top of the original hem. The idea is to preserve the original hem so that it doesn’t look like you hemmed it at all, so the new hem will be just next to it.
A note about sewing jeans with stretch in them. I love jeans with a little stretch, but if you are hemming a pair that happen to have a little spandex, be careful that you don’t pull the hem as you stitch it. This may cause the edge to pucker out a little bit in the end. So, guide the fabric to the presser foot, but do not tug on it.
At this point I recommend trying the jeans on one more time to be SURE the hem is where you want it, because the next step (if you take it) is the point of no return.
Step 3: Cut the excess fabric away
*This step is optional. If you think you’ll be letting the hem out later, skip this step because you can’t undo it later!
Cut the extra fabric off.
If you have an expensive pair of jeans and don’t feel comfortable doing that, you can whipstitch the fabric in place at the side seams and along the entire edge rather than cut it off. You can space the stitches out so there’s not an obvious stitch line.
However, if you have cheap jeans or know you won’t be letting the hem out later, AND you’re sure the hem is where it needs to be, snip the extra fabric off. Leave approximately 1/8-1/4″ so you can either zigzag or serge it to prevent fraying.
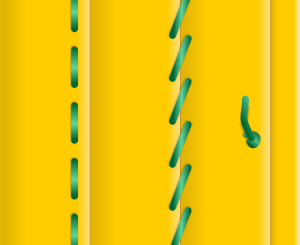
Step 4: Zigzag or serge the edge you just cut
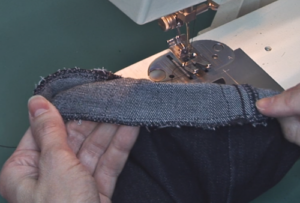 If you cut the excess fabric off in the last step, you will need to finish the denim by either zigzagging the edge or using a serger to finish it off. I tried using Fray Check to help with this, but it actually didn’t hold well.
Instead, I used a zigzag stitch twice around along the edge of the jeans because I didn’t have a serger available at the time. It has kept the edge clean and I’ve had no problems.
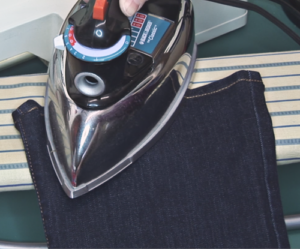
Step 5: Iron the hem flat
This step is very important. Just as in quilting, ironing the edge flat will ensure that the final topstitching is as smooth as possible.
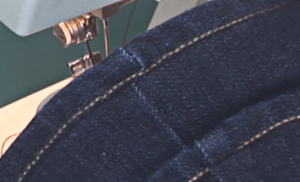
Step 6: Sew over the new hem
Top stitch as close to the new hem’s edge as possible. This will reinforce the new hemline, and keep it flat so that it doesn’t turn up while you’re wearing it.
And you’re all done!
Comparing results one year later
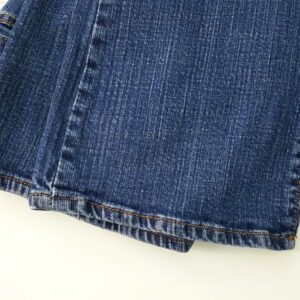
Here’s a photo of the jeans a year after the original tutorial footage was taken. I wear these jeans often, and you can see that they’ve faded a little bit, but I still don’t think the adjusted hem is noticeable. They appear to wear pretty much the same as an unaltered pair do:
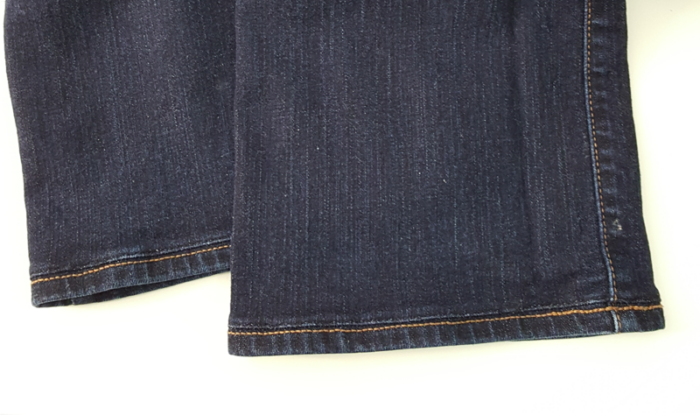
For comparison, here is the hemline of another pair of jeans that have not been altered but also well worn. You can see that they also fade a little just above the hemline. So they seem to fade in a similar fashion.