First, you might find it useful to have a crochet hook available, as the working yarn (that is, the yarn leading to your skein or yarn ball) needs to be pulled through an existing stitch so that you can create a new knitting loop.
In the example shown here, we’re going to pick up the same amount of stitches that are in the piece we’re attaching to, in this case a strap that will be attached to a tote bag. The strap is 12 stitches wide, and we’re going to pick up 12 stitches at the end and continue knitting the body of the bag. You can find the full Tote Bag Pattern here if you’re interested!
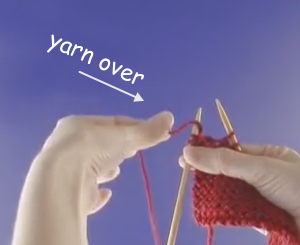
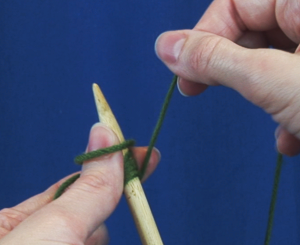
When you pick up a stitch, pull your working yarn through the stitch hole with the crochet needle or a knitting needle and slip it to needle with the rest of the stitches. Then simply pick up the next stitch and slip it on to the needle. That’s it! It’s very simple to do.
Click on the video below to see an example of how to pick up stitches:
Spacing While You Knit
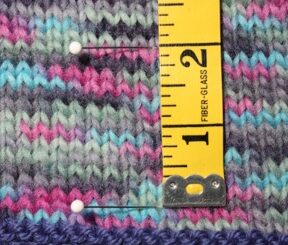
Sometimes a pattern will tell you something like “Pick up 10 stitches” when you have 15 holes available to pick them up in. (This is common, for example, in knitting socks when you are forming the heel of the sock.) Of course refer to the pattern’s wording first but usually it’s best to space them out as well as you can so there won’t be gaps or holes.
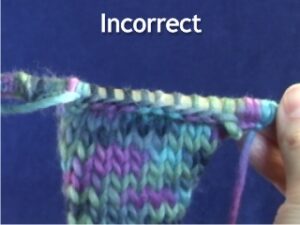
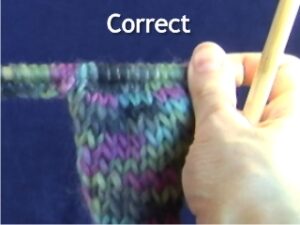
Make sure when you pick up stitches that the seam you create is on the wrong side of your project (unless you want it to show.) Take a look at the following photos to get an idea of how the seam could affect your work, based on which direction you pick up the stitches.