 (Click here for Part 1 of this tutorial.)
Reinforce Your Stitching
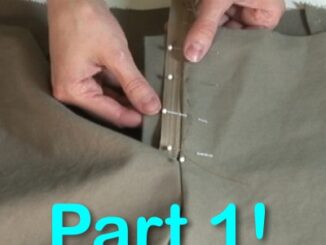
Next, pin the right side zipper facing to the right front of the pants along the straight center edge. Stitch along 1/4″ from the edge. Flip the facing to the inside and iron the fabric flat. Now you’ll pin the facing to the front along the curved edge. Baste the zipper opening closed along the front center edge. Sew through all layers of fabric, basting the right and left sides together along the center.
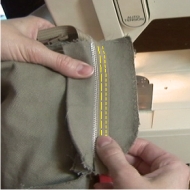
Stitch a second line next to the first, to reinforce the zipper to the placket.
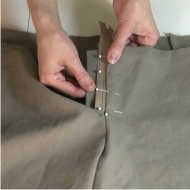
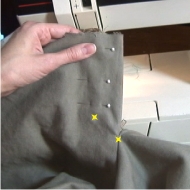
Pin the right placket’s curved edge to the pants front. and remove the basting along the center line. Open the zipper. Now you’ll topstitch on the right side, following the dots marked on the outside (if you’re following the McCalls pattern), mimicking the curve of the zipper facing. Be sure you do not stitch through to the left zipper placket – this will prevent you from being able to open the pants!
Reinforce your stitching at the bottom dot and the bottom center where the right and left sides come together with a bartack stitch. Read about Bartack Stitching here.
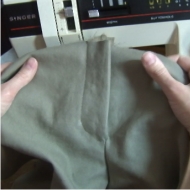
Now that you’ve reinforced your stitches, your zipper has been completely attached.
 If you are working on a pattern that has a buttoned waistband, you can shorten the zipper to fit. You can fit the top of the zipper to where they will naturally end, and trim the excess off the bottom once the zipper is attached. Just be sure to go over the bottom of the zipper with a zigzag or bar tack stitch to reinforce it, so that the zipper does not come off of its track.
Video Tutorial, Part 1:
The Video Tutorial, Part 2: